Testing Components in Storybook in 2023
Technologies: Web Components, React, Vue, Angular
Historically testing in design systems has not exactly been front and center. Tests are made off to the side and have relied on terminal based solutions that get some of the browser APIs but rely heavily on mocks for some of the more complex web platform apis. It can be rather tedious and laborious to formulate a decent level of testing coverage for a component library.
However, recently Storybook has released a suite of addons that attempt to be a solution to these issues. It runs inside a headless browser and can enable browser coverage in chrome, firefox and webkit (close to safari).
Getting Started
First, we're going to have to install some extra dependencies to your storybook set up:
npm install -D @storybook/test-runner @storybook/jest @storybook/addon-interactions @storybook/addon-coverage @storybook/testing-library
This will install the test runner, jest and the interactions addon that will give you that fancy panel inside your storybook stories.
Next, we're going to want to configure this so you can run it in the terminal. To do this just add this script to your package.json inside your project:
{
  "scripts": {
    "test-storybook": "test-storybook --coverage"
  }
}
In your main.js (could be .ts or another extension depending on your storybook configuration) add the addon to the addons array and enable the interactions debugger in the features object. It should look something like this:
module.exports = {
    // this could be anything here depending on your config
    addons: [
        '@storybook/addon-interactions',
        '@storybook/addon-coverage'
    ],
    features: {
        interactionsDebugger: true
    }
}
Now to get this going we need to just run:
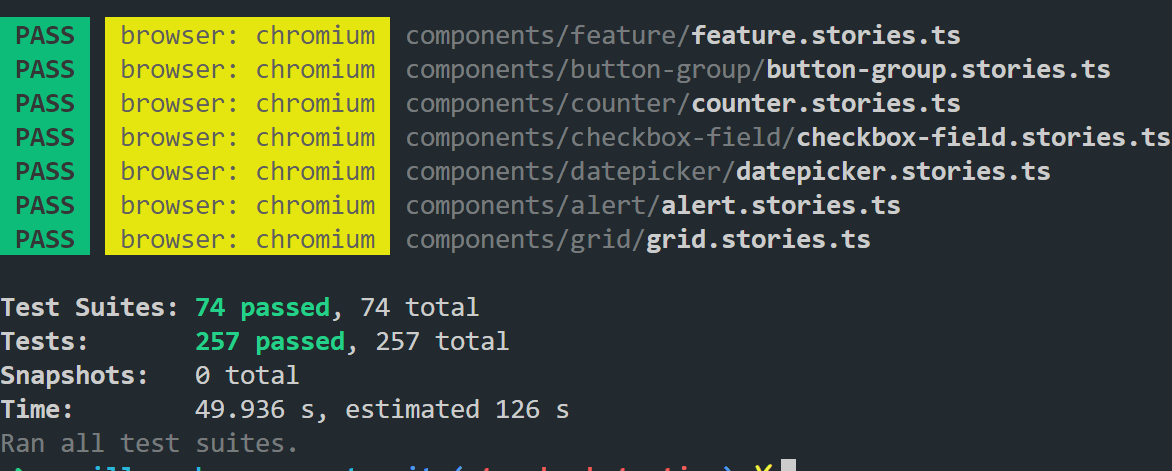
npm run test-storybook

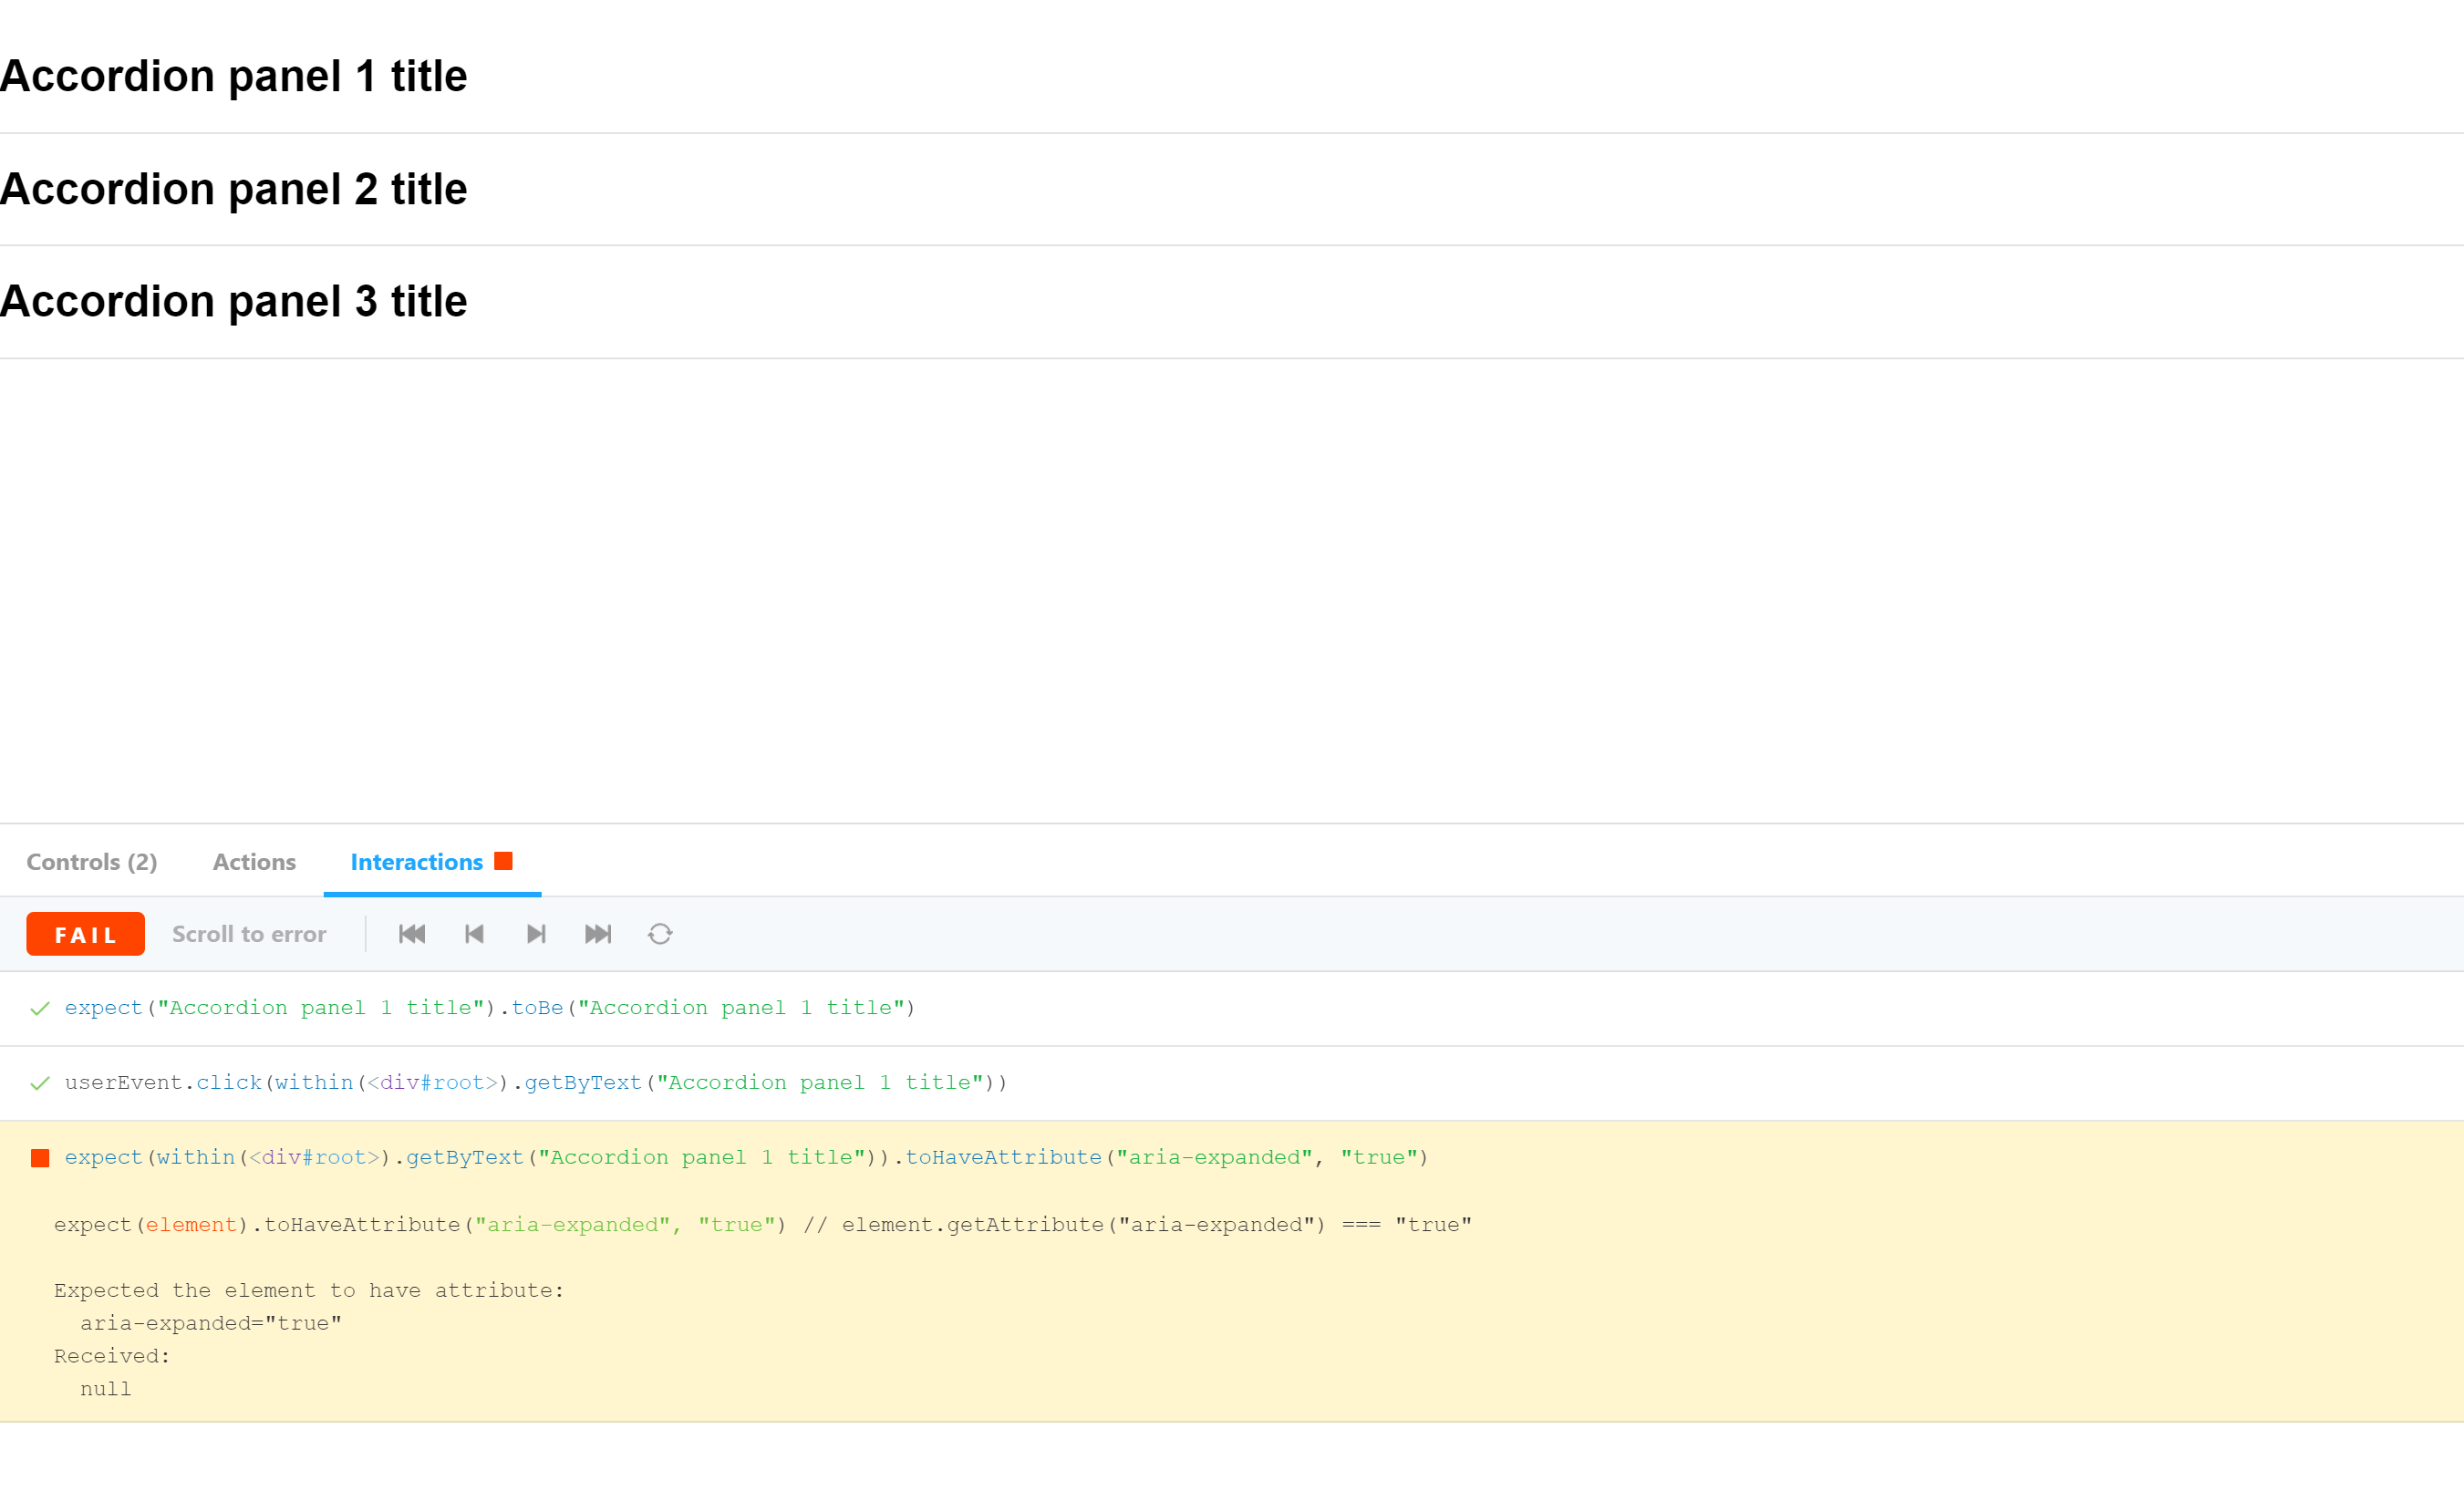
But wait, didn't I say that this doesn't need the terminal? Well, thats why we added the interactions addon just above. With that we should be able to see the interactions panel inside storybook.
To get started all we need to do is augment our storybook stories with a play method. This play method allows us to simulate interactions and make expectations on the outcome. So for example if we had an accordion that we wish to open up and see if the appropriate aria attributes are added we’d write something like this:
Default.play = async ({ canvasElement }) => {
    const canvas = within(canvasElement)
    const button = canvas.getByRole('button', { name: 'Accordion title 1' })
    expect(button.innerText).toBe('Accordion title 1')
    userEvent.click(button)
    expect(button).toHaveAttribute('aria-expanded', 'true')
    userEvent.click(button)
    expect(button).toHaveAttribute('aria-expanded', 'false')
}
We have the ability to use the following userEvents:
| User events | Description |
|---|---|
| clear | Selects the text inside inputs, or textareas and deletes it userEvent.clear(await within(canvasElement).getByRole('myinput')); |
| click | Clicks the element, calling a click() function userEvent.click(await within(canvasElement).getByText('mycheckbox')); |
| dblClick | Clicks the element twice userEvent.dblClick(await within(canvasElement).getByText('mycheckbox')); |
| deselectOptions | Removes the selection from a specific option of a select element userEvent.deselectOptions(await within(canvasElement).getByRole('listbox','1')); |
| hover | Hovers an element userEvent.hover(await within(canvasElement).getByTestId('example-test')); |
| keyboard | Simulates the keyboard events userEvent.keyboard(‘foo’); |
| selectOptions | Selects the specified option, or options of a select element userEvent.selectOptions(await within(canvasElement).getByRole('listbox'),['1','2']); |
| type | Writes text inside inputs, or textareas userEvent.type(await within(canvasElement).getByRole('my-input'),'Some text'); |
| unhover | Unhovers out of element userEvent.unhover(await within(canvasElement).getByLabelText(/Example/i)); |
Utilizing all of these interactions should enable us to be able to simulate completely how a user would interact with our component. Also, as an extra bonus, unlike JSDom there’s no need to mock some of the browser features that JSDom doesn’t support such as Element.animate() or Intersection Observers.
Workflow
Tests will appear immediately in the Interactions panel in storybook. There is no need to continuously run the terminal command and feedback should be instant. Using the interaction debugger we’re able to pause, fast-forward and dig into any problems that we may be having whilst creating tests. Further reducing the friction of writing tests.

Continuous Integration
All of the tests can be run in the terminal and under Docker so should be perfectly possible with most CI environments. In a future article I'll take a look configuring that with github actions.
Coverage
Coverage is powered by Istanbul and is presented in the terminal upon completion of the test suite.
Coverage for each component should 100% unless there are special exceptions. In order to achieve that it is important to ensure that if there is any conditional rendering according to a variant or other property it is represented in a story or an interaction test.

Notice all of those red areas where our code isn't covered? I'll do a followup blog soon where we'll look at a few of those and get them into the green.

